Showing posts with label Accessories. Show all posts

Tuesday, January 12, 2016

My Super Nerdy Sewing Apron...Don't Judge


So....I know what you're thinking, "Man this chick is a real sewing nerd if she's making a sewing apron."  Now before you start judging I feel I must explain.  As some of you know, I teach sewing to both kids and adults (the best job in the world BTW!) and during class I'm constantly looking for tools.  I'm either rifling through the classroom sewing drawer or borrowing something from a student.   I thought an apron would be a great way to not only save time.


I loosely based the apron on this tutorial from CraftiStacy and made it out of a two sided denim scrap I had left over from an upholstery project.  I've already used it and it's been great!

I've been industrious in my sewing room at home.  I cleaned out my stash cabinet and snapped a photo because I'm sure it won't look this way very long.  The before was pretty bad, don't you think?

Before
After


There's more clean up to come in my sewing room.  I guess the new year has energized me.  I'm going to tackle the pattern hoarding collection next.  Wish me luck!

Wednesday, December 17, 2014

Fabricmart Fabricista - Frankenpattern Dress


Although the mention of Frankenstein conjures up scary images of Igor and bad posture, Franken-patterns are quite different.  Sewists have coined the term to describe combining more than one sewing pattern until a new look materializes.  Ahhh, the joy of creating something new and unique. “It’s Alive!”


It’s time for a winter dress and I’ve been drooling over this fabric for quite some time, both because I love the print and because a double crepe can be difficult to find.  It has a pebble like texture, beautiful drape and “mechanical” stretch, meaning that although it is a woven fabric without lycra, it still has a slight crosswise give.  The stretch makes this fabric easy to sew and even more comfortable to wear.


The print is sophisticated but still really fun and lends itself to a simple style. The skater dress silhouette is quite popular right now and I thought a modified version would be perfect.  There are plenty of skater dress patterns out there but I couldn’t find one suitable for a woven fabric, therefore, I decided a Franken-pattern was in order.  

For the bodice, I used New Look 6144 View B.  I’ve used this pattern before and love the fit.  I cut the pattern 1" above the waistline so the skirt would sit just above the waist and made pleats at the neckline instead of the darts the pattern called for.  


For the skirt, I wanted to dirndl style skirt, not too full, not many seams, so I could make the best use of the print.  I used Simplicity 1354 for the skirt, omitted the pockets and left everything else the same.


What’s a cute dress without a bag to go with it?  Simplicity pattern 1387 was the basis for the shape of the bag, but I changed the handles, closure, hardware and lining to get the bag that I wanted.


The top of the bag is lightbeige twill and black wool suiting makes up the bottom and handle.  To round out the menswear feel of the twill and wool, I lined it in a classic striped shirting and trimmed it with “pleather”.  The pattern doesn’t have any pockets in the lining, so I added a zip pocket on one side and sectioned pockets with bias trim on the other.


I’m so happy with my Franken-pattern dress and my coordinating bag makes me feel like I really have it together.  Thanks Dr. Frankenstein.  And thank you Fabricmart!


Saturday, December 13, 2014

Christmas Sewing

Lots of Christmas sewing going on around here.  Make up bags, journal covers, lanyards, sweatshirts and even a cape for a sweet little girl I know is on the way.

I made this set for my son's (very favorite) teacher:


And I made these for my girlfriends:


More Christmas goods are on the way....

Wednesday, December 3, 2014

"I'm Not a Geek Anymore" Lanyards


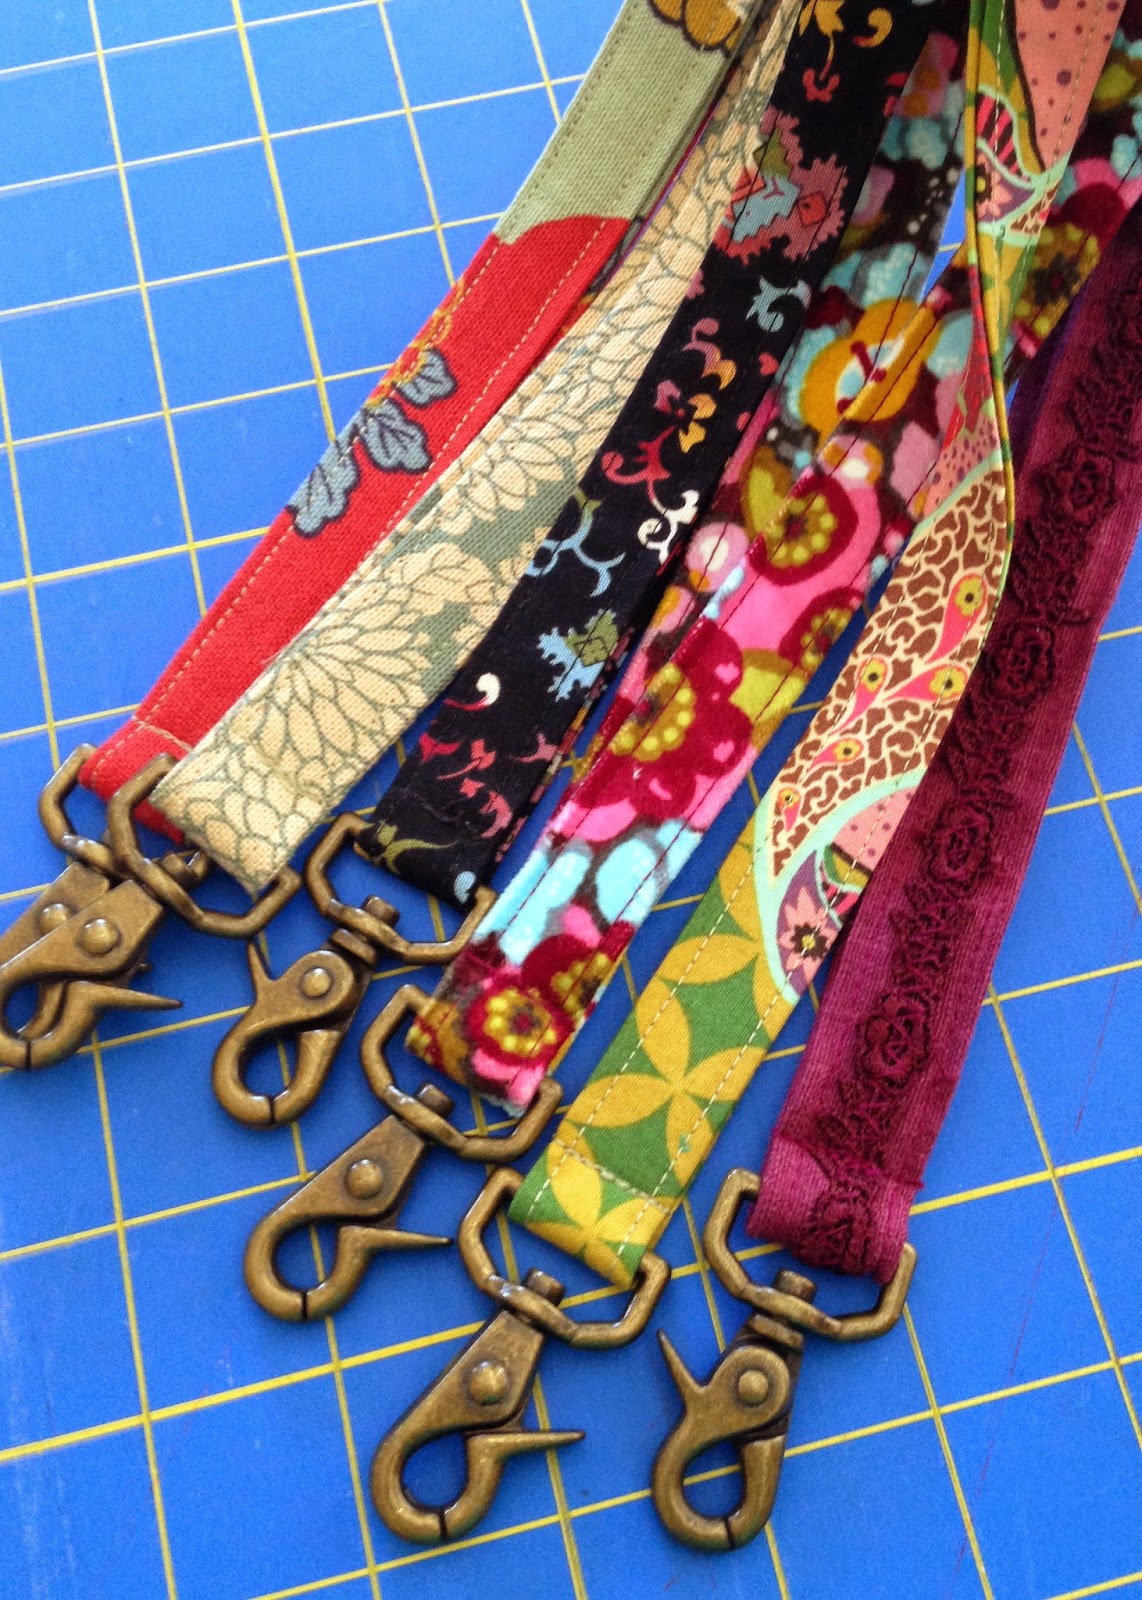
Let's face it, lanyards over the years have taken their fair share of verbal abuse enduring "nerd", "dweeb" and "geek" monikers.  There's no need for all this name calling when really all a lanyard is trying to do is help.  Recently, my daughter went away to college and now, along with her classmates, she wears a lanyard most of the day.  I decided it was time to make a handful of cute lanyards, send them to her and her friends and free them from shame.  They are a really simple gift to make and you can use up all of your scraps (notice I use some Anna Maria Horner fabric leftovers, yum)!  So here are the instructions for "I'm Not A Geek Anymore" lanyards:

Supplies:

Swivel clasp lanyard hook (3/4" opening)
3" x 37" piece of fabric
3/4" x 37" piece of fusible interfacing
Thread to match


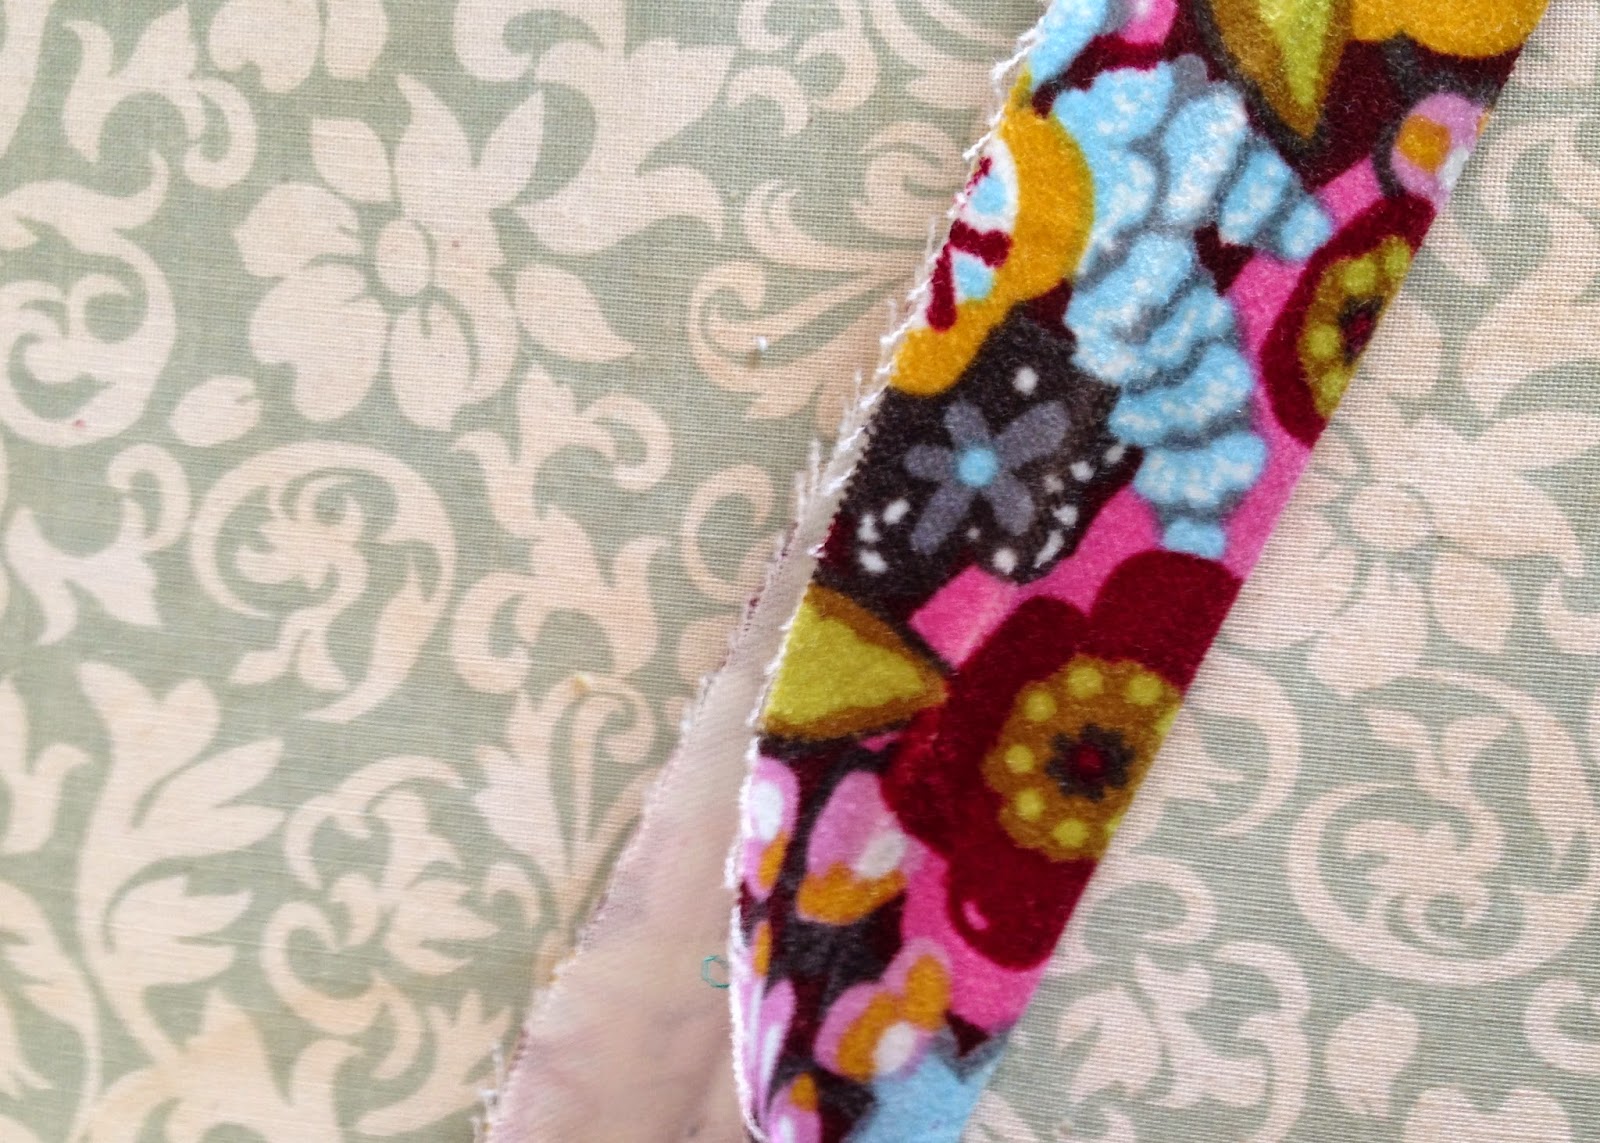
Fold fabric in half in half lengthwise, wrong sides together.  Press.


Open out fabric, fold raw edges in to crease, wrong sides together.  Press.


Fold strip along original fold line forming 3/4" strap.  Press.


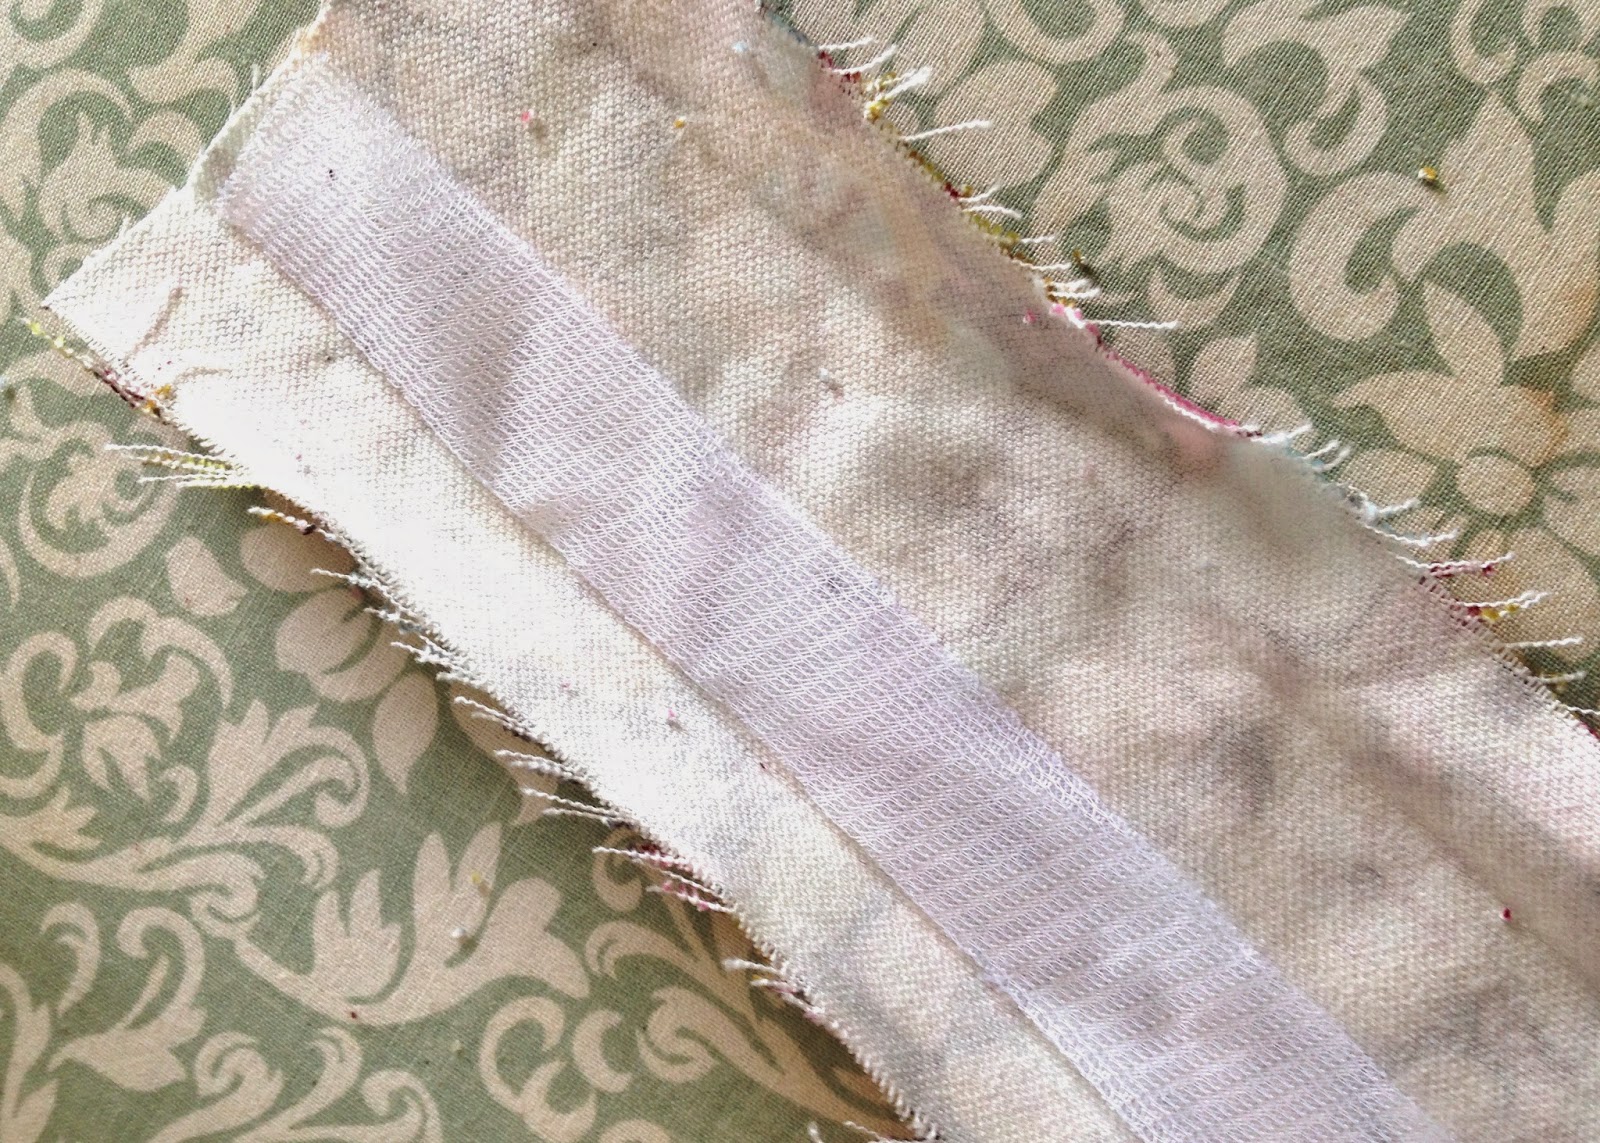
Place interfacing inside strap along fold line. Press in place.


Push strap through swivel hook.  Open out strap, align short ends of strap with place right sides together.  Stitch, using 1/2" seam allowance.


Close strap along fold lines and pin in place.


Stitch strap closed 1/8" from folded edge.  Repeat stitching on other side.


With zipper foot, stitch across strap close to swivel hook.  


Done!  Yay!  You are now free from "Geekdom"!

Saturday, April 26, 2014

On The Run


I love to sew and I love to run.  In my newest project I combined both.  When heading out on a long run the question always is....where do I put my stuff?  My key, license and money (in case I run by a donut shop) have to go somewhere so it might as well be pretty....right?


I used 30's inspired quilting prints, fully lined each pouch and made a contrasting strap with velcro all the way around so my key doesn't fall out.  Plus....it makes me giggle to look down at my shoe while I'm running and see this happy holder.


I figured someone else must be having the same problem finding a cute and safe pouch so I loaded a few on Etsy.  You can check them out here.  


Thursday, February 13, 2014

Scarfidy Do Dah


If you hang around my sewing room too long you're going to get embroidered.  There's just no way around it.  This flannel fabric has been hanging around my sewing room for quite some time (so I had to embroider it)....it was too bright for a shirt and there wasn't enough fabric for PJ pants and I saw this outfit on pinterest and the scarf idea was born.


It's difficult at times to find simple, modern embroidery designs but after some surfing I found Modern Embroidery Geek on Etsy and this beautiful Modern Thailand Flower design.  Isn't she pretty? 


I cut two pieces of flannel 12" by 64" and embroidered on one end of one of the panels.  The flower design came in two sizes, I embroidered the larger twice and resized it to 80% and stitched it out twice again using different combinations of hot pink, coral and turquoise embroidery thread.  When I was finished with the embroidery I stitched the remaining panel to the embroidered panel (right sides together) all the way around, leaving an opening to turn.  Viola!  She is done!


Saturday, February 8, 2014

Valentine Sewing

I made candy bar pockets for my friends for Valentine's Day because everyone needs a candy bar pocket!

Wednesday, February 13, 2013

The Field Trip Scarf


I took a "field trip" with a couple of students to the fabric store.  I think I enjoyed it much more than they did and of course I picked up some fabric which has now increased my stash!  I wasn't going to do that was I?  Anyway.....while we were there one of my students ran to her car and got a RTW scarf she had and loved and wanted to copy.  Her idea reminded me of a RTW scarf at my house that I love but would never wear because of the color.  I purchased one yard of fabric ($2.98 on a flat fold probably a rayon/poly mash up of some sort), pulled out the inspiration scarf and measured it and in about 30 minutes I had a cute scarf.  Infinity scarf tutorials are everywhere on the web but here is a quick overview of what I did:


Purchase 1 yard of 56"-60" wide knit fabric.


Cut fabric 34" by width of fabric (my fabric was 58" after I cleaned up the selvages).


Fold fabric in half lengthwise, right sides together, and pin.


Change machine stitch to either stretch stitch (it looks like a jagged line) or a narrow zigzag to create a seam that stretches.  1.5 stitch width and 2.0 stitch length worked great on this fabric and my machine.  (Isn't my machine cute?....She's smiling for the picture!)


Change machine needle to a ball point or jersey needle.  This will help prevent skipped stitches and runs.  It is difficult to differentiate between the regular and ball point when they are out of the package so I put nail polish on all of the ball point needles.  This makes it so much easier to find the right needle in my sewing drawer especially if the needle jumps out of the proper package as mine often do. 


Sew the lengthwise seam using a 1/2" seam allowance.  Turn right side out.  Match seams from the opposite ends of the scarf "tube" (right sides together) and pin around the open ends of the scarf as far as possible (you'll need to leave a few inches open but we will close it next).  Stitch.


Put open ends together, folding seam allowances in, and straight stitch close to the edge of the fold (you can also close this by hand with a slip stitch if you prefer).  


Here's my inspiration scarf (I love it but I can't wear orange).


And here's my pretty scarf.  I love it and I can wear pink!