Showing posts with label Gift. Show all posts

Friday, January 8, 2016

Christmas Sewing Catch Up


I'm catching up on sharing my Christmas sewing and it's going to be easy since I only made one gift this year.  Can you believe it?  What kind of selfish sewer am I?  That said, I enjoyed making this flannel shirt for my husband because I was able to take my time...something that's hard to do with Christmas sewing.


I made McCall's 6044 for him once before (in a dreamy plaid) and he loved it so much I decided to make him another.  The thick gray flannel I used sewed up well and I made the shirt just like the pattern with the exception of the sleeve.  The pattern has a two-piece sleeve but I made it a one piece sleeve and added a placket.  It washed up nicely (it'd been washed three times by the time I took these photos) and feels like it's going to get better with time.


Men's shirts are fun because of all of the topstitching and I had the opportunity to put the collar, band and sleeve cuffs on using the heavily modified "burrito-ish" method I used on my Granville shirts. This is the handiest method ever and  I saved it on my "Sewing Tips" pinterest board so I would always have it.  Have you tried this yet?  I'll never go back to the old way.  Here's how I did the cuffs using this method:


I sewed the cuff and the cuff facing to the sleeve with the sleeve sandwiched between.

I folded the cuff back against the facing, right sides together, and pinned as far as I could keeping the sleeve free.


Here's what it looks like with the entire cuff pinned.  I sewed along the pins, flipped it right sides out and topstitched it closed.  It was easy and it looks clean.

There aren't very many photos for this post because someone is camera shy and very squirmy....cute, but squirmy!

Happy Sewing!


Wednesday, June 17, 2015

Fabricista 25th Anniversary Shirt


This month my Fabricmart Fabricista project is for my husband.  I'm happy to share it with you.

It was my 25th anniversary last week and every year I buy my husband at least one card for our anniversary and this year was no different.  I looked at typical anniversary cards, "I'm Sorry" cards (for all of those times I said something I shouldn't have, uh-hem), "I Love You" cards and "You're My Best Friend" cards.  I settled on an "I Love You" anniversary card but I knew I wanted to give him something more....it is our silver anniversary after all.


I decided to make him a shirt.  I realize it's a bit "Little House on the Prairie" for Ma to make Pa a shirt but he loved the last shirt I made him so much I knew it was the perfect gift.


I found a beautiful quality Japanese shirting from Fabricmart that he would like.  It's a 100% cotton blue/gray fabric with tiny red a cream colored stripes and a really soft face. He's an artist so he's usually in a crew neck t-shirt and Levi's (with a little bit of paint on them somewhere) so this crisp but not too crisp fabric is great for my casual dressing guy.


Already in my stash was the Negroni pattern from Colette but I had yet to make it.  My husband has these particular two shirts he likes from Patagonia, so I decided to steal one from the closet and use it for the basic fitting specs.  I measured it against Negroni and found the large was only a 1/2" different around the body so I went with it.


I made a few fit and design changes starting with shortening the sleeve.  I measured the shirt from the neck, across the shoulder seam and down the sleeve to get the length I wanted.


I then measured the yoke and sleeve pattern pieces, deducted the seam allowances and found my sleeve needed to be shortened a little more than an inch.


I copied the Patagonia shirt pocket because it had a lot more interest and used my 1/4" foot for the inner stitch and my ditch foot for the edge stitch when topstitching on the pocket, collar, yoke and sleeve.  Negroni calls for a shirttail hem but I changed it to a straight hem with a side vent.


The instructions were well written, the finish on the inner yoke and collar was really clean (take a look at the inside in the photo below) and overall it looked more like a ready to wear shirt than any other men's pattern I've used.


Since I gave it to him as a surprise I wasn't able to do fittings while making the shirt so I will make a couple of changes next time I make it.  I'll shorten the sleeve and shirt length by an inch each and make a sloping shoulder adjustment to eliminate the wrinkles at the back armhole.


My husband loved the shirt (and wants another one...I'm so happy!)  and after a some coaxing agreed to be photographed but insisted I leave his face out of it. I obliged because if I didn't I'd have to buy an "I'm Sorry" card at our next anniversary.


While making this shirt I was reminded of something. When a new niece or nephew is born in the family, my husband gets freshly showered and puts on a collared shirt before we first go meet the baby.  I've never asked him to do this and of course the baby doesn't know he's in his "Sunday Best" but I find it so endearing.  Now that he has this new collared number do you think we might be due for a new niece or nephew?

Thank you for sharing in my sewing adventures,
Diane at Gatorbunnysews

Sunday, April 5, 2015

Happy Easter!


I'd like you to meet three little girl bunnies I made for my nieces for Easter.  They are so fun and easy.  I used this template from The Little Fabric Shop blog and made them from scraps in my stash.  These little ladies make me happy.

Happy Easter!


Saturday, December 13, 2014

Christmas Sewing

Lots of Christmas sewing going on around here.  Make up bags, journal covers, lanyards, sweatshirts and even a cape for a sweet little girl I know is on the way.

I made this set for my son's (very favorite) teacher:


And I made these for my girlfriends:


More Christmas goods are on the way....

Wednesday, December 3, 2014

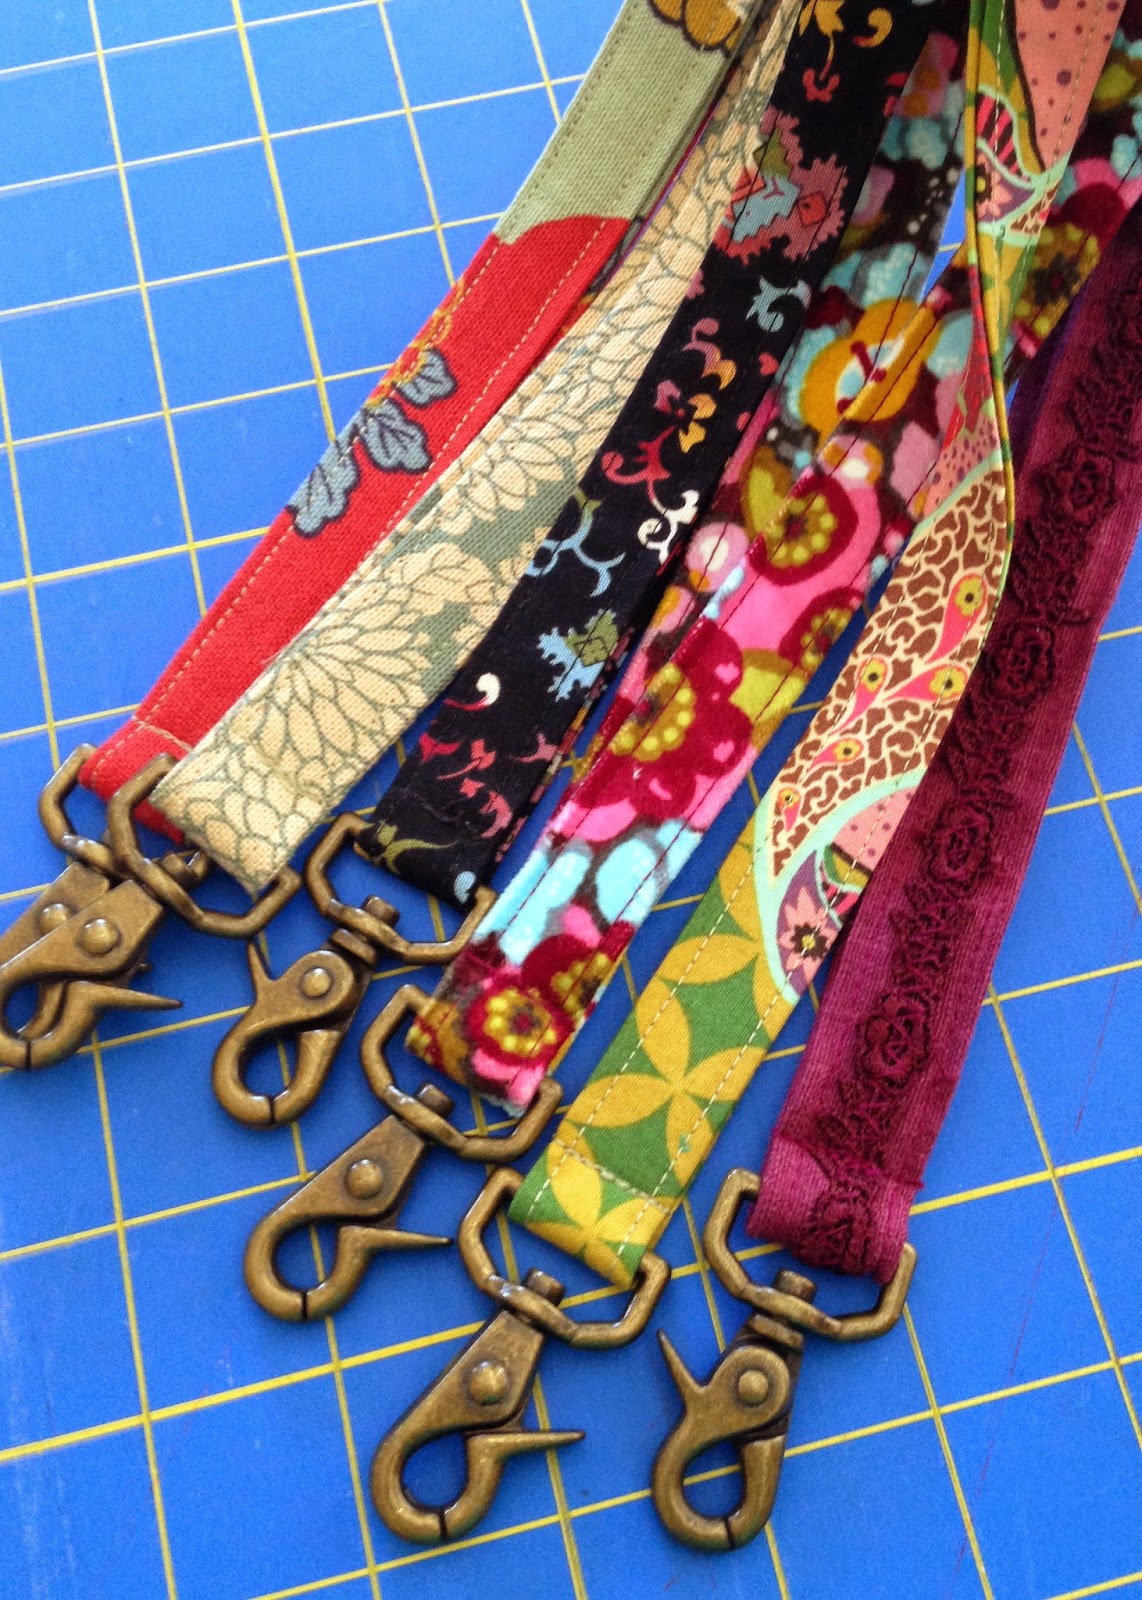
"I'm Not a Geek Anymore" Lanyards


Let's face it, lanyards over the years have taken their fair share of verbal abuse enduring "nerd", "dweeb" and "geek" monikers.  There's no need for all this name calling when really all a lanyard is trying to do is help.  Recently, my daughter went away to college and now, along with her classmates, she wears a lanyard most of the day.  I decided it was time to make a handful of cute lanyards, send them to her and her friends and free them from shame.  They are a really simple gift to make and you can use up all of your scraps (notice I use some Anna Maria Horner fabric leftovers, yum)!  So here are the instructions for "I'm Not A Geek Anymore" lanyards:

Supplies:

Swivel clasp lanyard hook (3/4" opening)
3" x 37" piece of fabric
3/4" x 37" piece of fusible interfacing
Thread to match


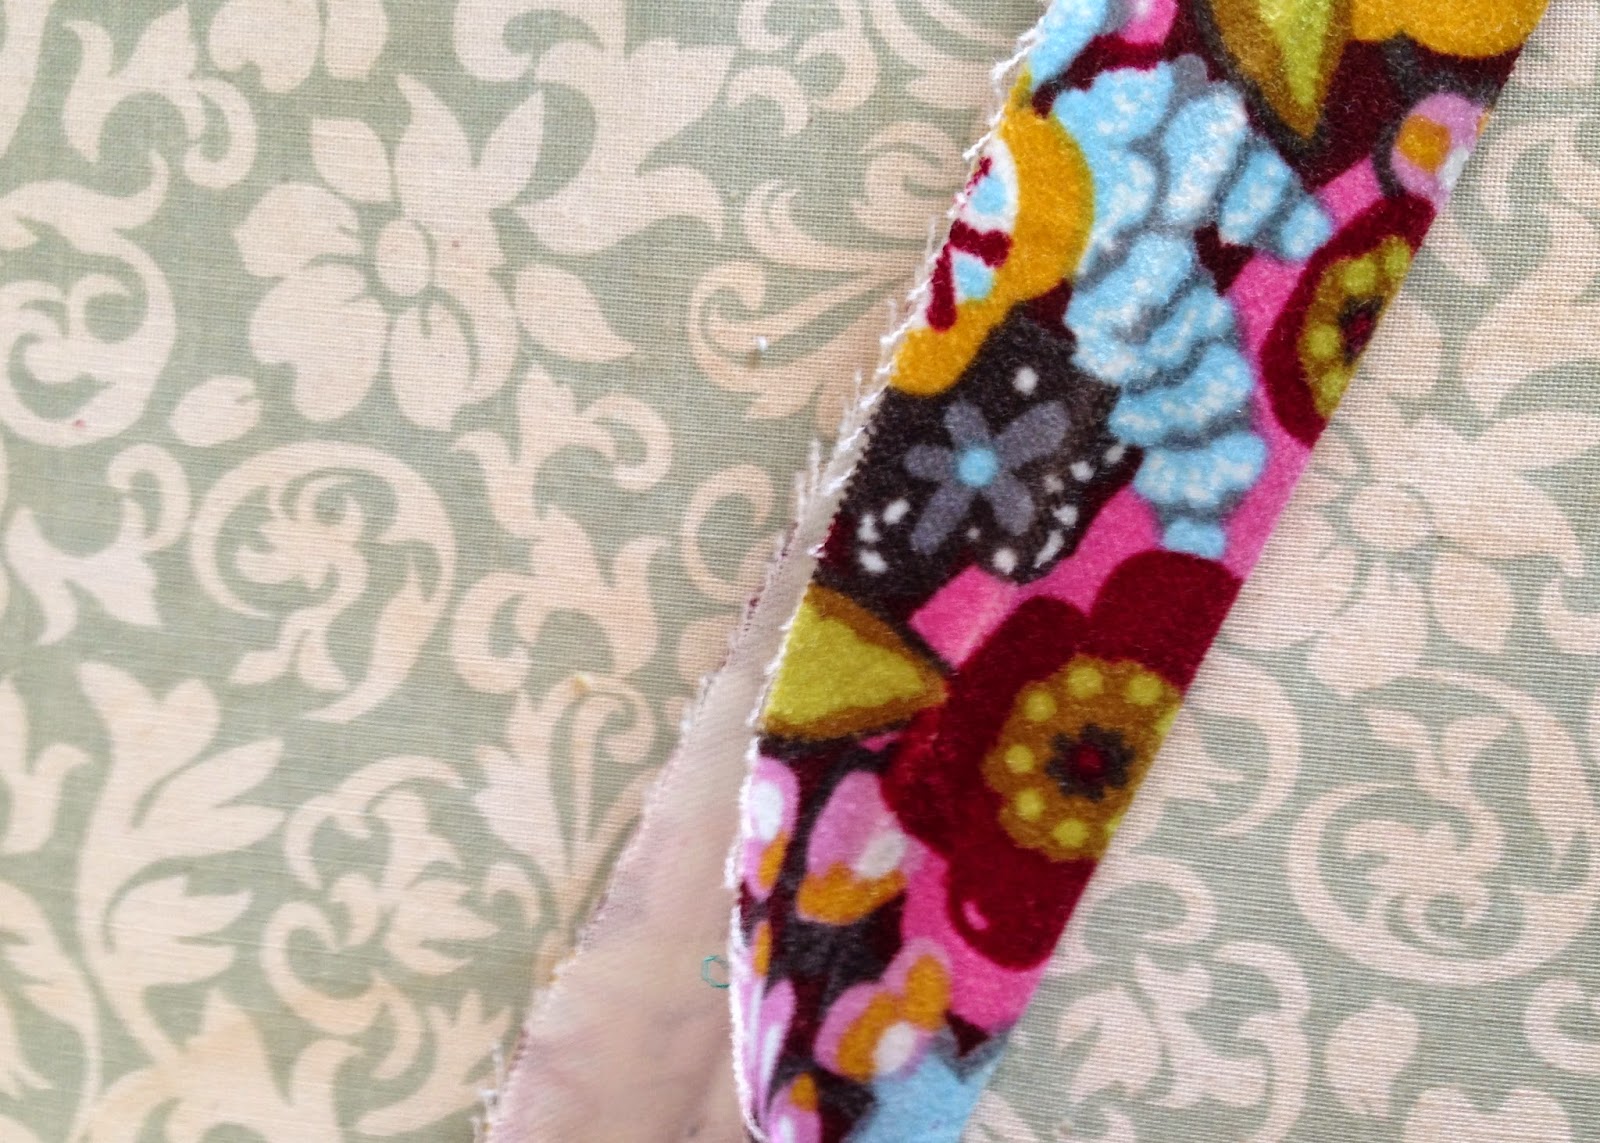
Fold fabric in half in half lengthwise, wrong sides together.  Press.


Open out fabric, fold raw edges in to crease, wrong sides together.  Press.


Fold strip along original fold line forming 3/4" strap.  Press.


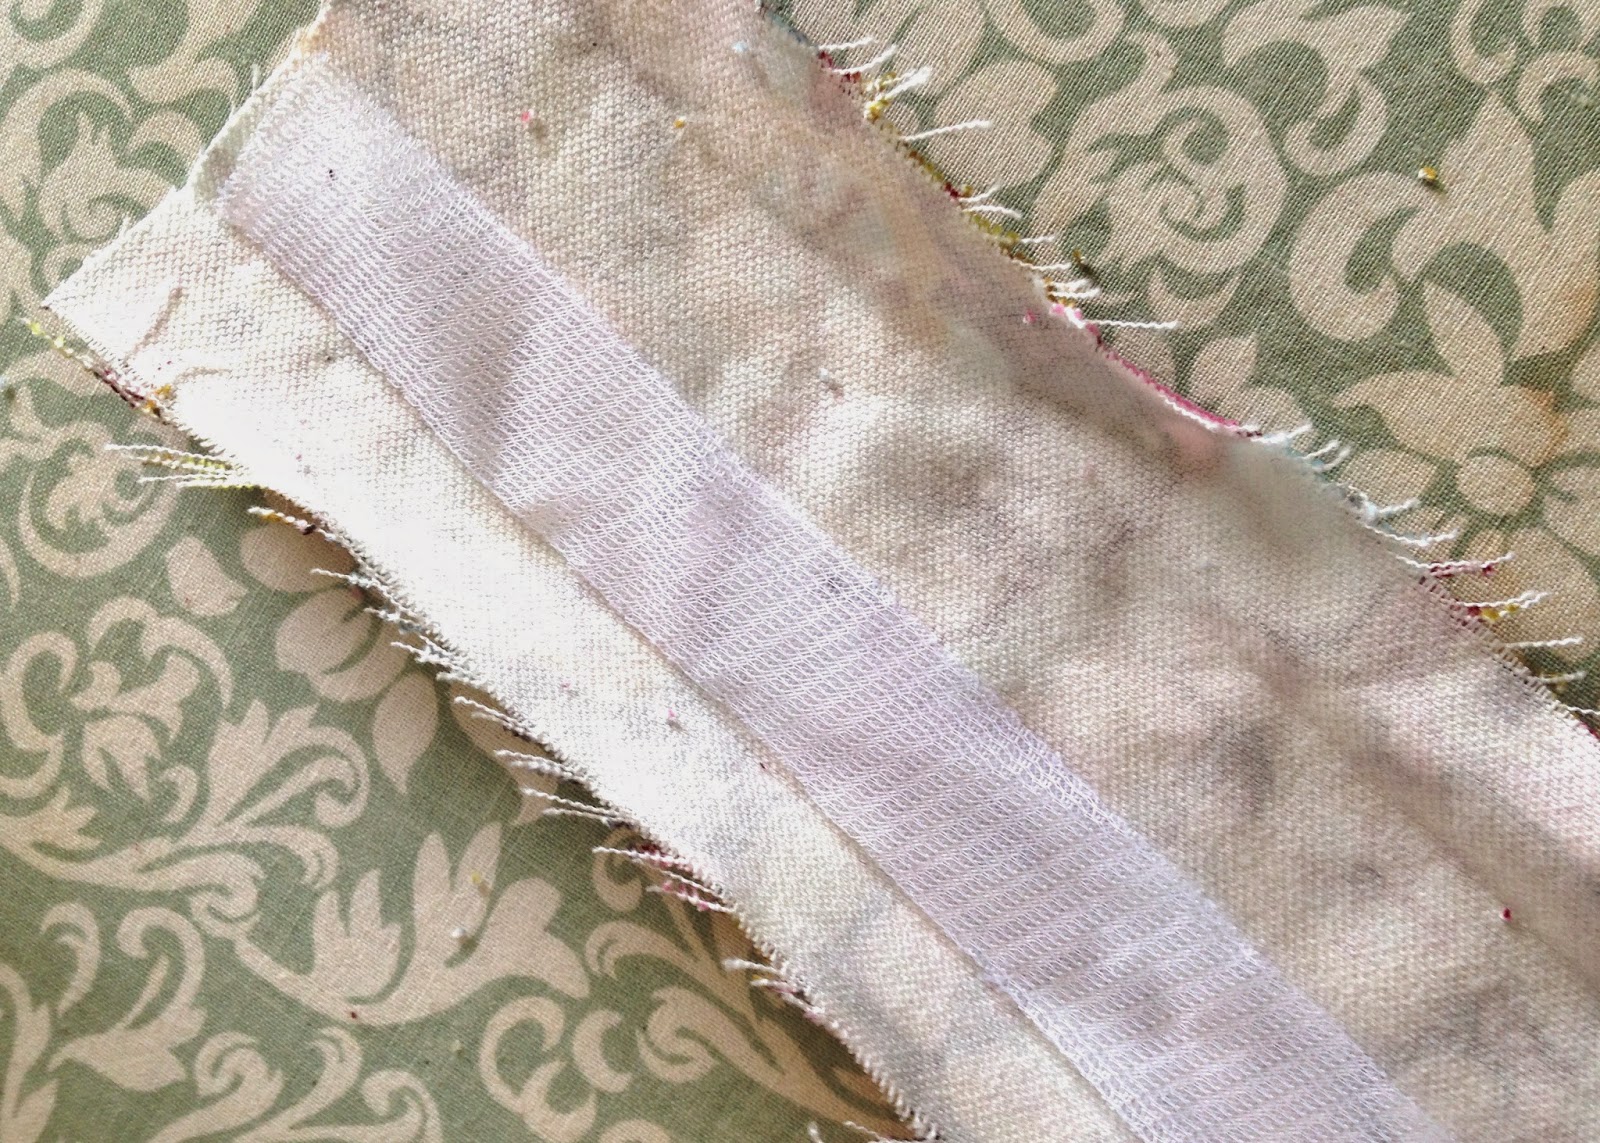
Place interfacing inside strap along fold line. Press in place.


Push strap through swivel hook.  Open out strap, align short ends of strap with place right sides together.  Stitch, using 1/2" seam allowance.


Close strap along fold lines and pin in place.


Stitch strap closed 1/8" from folded edge.  Repeat stitching on other side.


With zipper foot, stitch across strap close to swivel hook.  


Done!  Yay!  You are now free from "Geekdom"!

Saturday, November 1, 2014

Studio Shirt - McCall's 6044

It's been quite some time since I made my husband a shirt.  So long in fact that I can hardly admit it to myself.  When we were first married I made him a few shirts for school and aside from that I haven't made him a proper shirt since.  Plenty of pajama pants and a really great jacket but no shirt.  I'm the worst wife ever.

My husband is an artist and although we live in sunny SoCal, his studio can get cold in the winter.  He wears flannel shirts and light jackets all of the time so it seemed perfect for him to have a handmade one.  I found this really thick plaid flannel that is dreamy soft and pulled McCall's 6044 out of my pattern stash (because I've been saving this pattern to make him a shirt for a while).

View C calls for 2 1/2 yards of 45" fabric for a size large and I purchased 3 yards to accommodate the plaid and shrinkage.  I measured a shirt from his closet that he loves against the pattern and found it was so similar I didn't have to make any changes.

Not surprisingly, one of the most time consuming parts of the shirt was matching the plaids.  I made the shirt in small time increments because I wanted to keep it a secret.  I made the body, the collar, sleeve placket/cuff and front placket all in sewing spurts, so before I knew it I was finished.  It was a great way to work on a project.

This is a good pattern for a first shirt because there's no yoke, a simple sleeve placket but it still has a traditional collar with a stand.

When I gave it to him he loved it and didn't realize I made it.  The best compliment ever!  He wears it on cold days and it's so soft I always want to hug him.  I wish I could get a picture of him in it but a photo of him for my blog is "never going to happen."  But...since I can't have a picture of him I took a picture of one of his yummy paintings to share with you.  Don't tell...


Here's my review on PatternReview.com
Here's my Kollabora.